OpenClaw Node.js Tutorial: First Agent
Step-by-step guide to building an AI agent with OpenClaw and Node.js. From installation to your first working skill.
OpenClaw Practical Tutorial Series Part 11 - Nodes: Control Your Phone and Other Devices
OpenClaw doesn't just live on one computer—through Nodes, let your AI control your phone, Raspberry Pi, and IoT devices.
From OpenClaw to Node: Breaking Free from a Single Machine
By now, you've already learned how to:
✅ Let OpenClaw chat and use tools on this computer ✅ Let OpenClaw control the browser on this computer ✅ Let OpenClaw run scheduled tasks on this computer
But now, imagine these scenarios:
Scenario 1: Remote Monitoring You're on a business trip and want to check if your cat has been fed today. → You need OpenClaw to control the tablet at home to take a picture.
Scenario 2: Sensor Data Collection You want your AI to read the temperature and humidity data from your balcony every hour. → You need OpenClaw to control a Raspberry Pi to read the sensors.
Scenario 3: Cross-Device Collaboration You're at a coffee shop and need a file from your office computer. → You need OpenClaw to control your office computer to transfer the file.
The common thread in these scenarios is: OpenClaw needs to break free from the limits of a single machine.
This is where Nodes come in.
New to the Claude Agent SDK? Start with the Claude Agent SDK configuration guide to set up your API keys and environment before building your first OpenClaw skill.
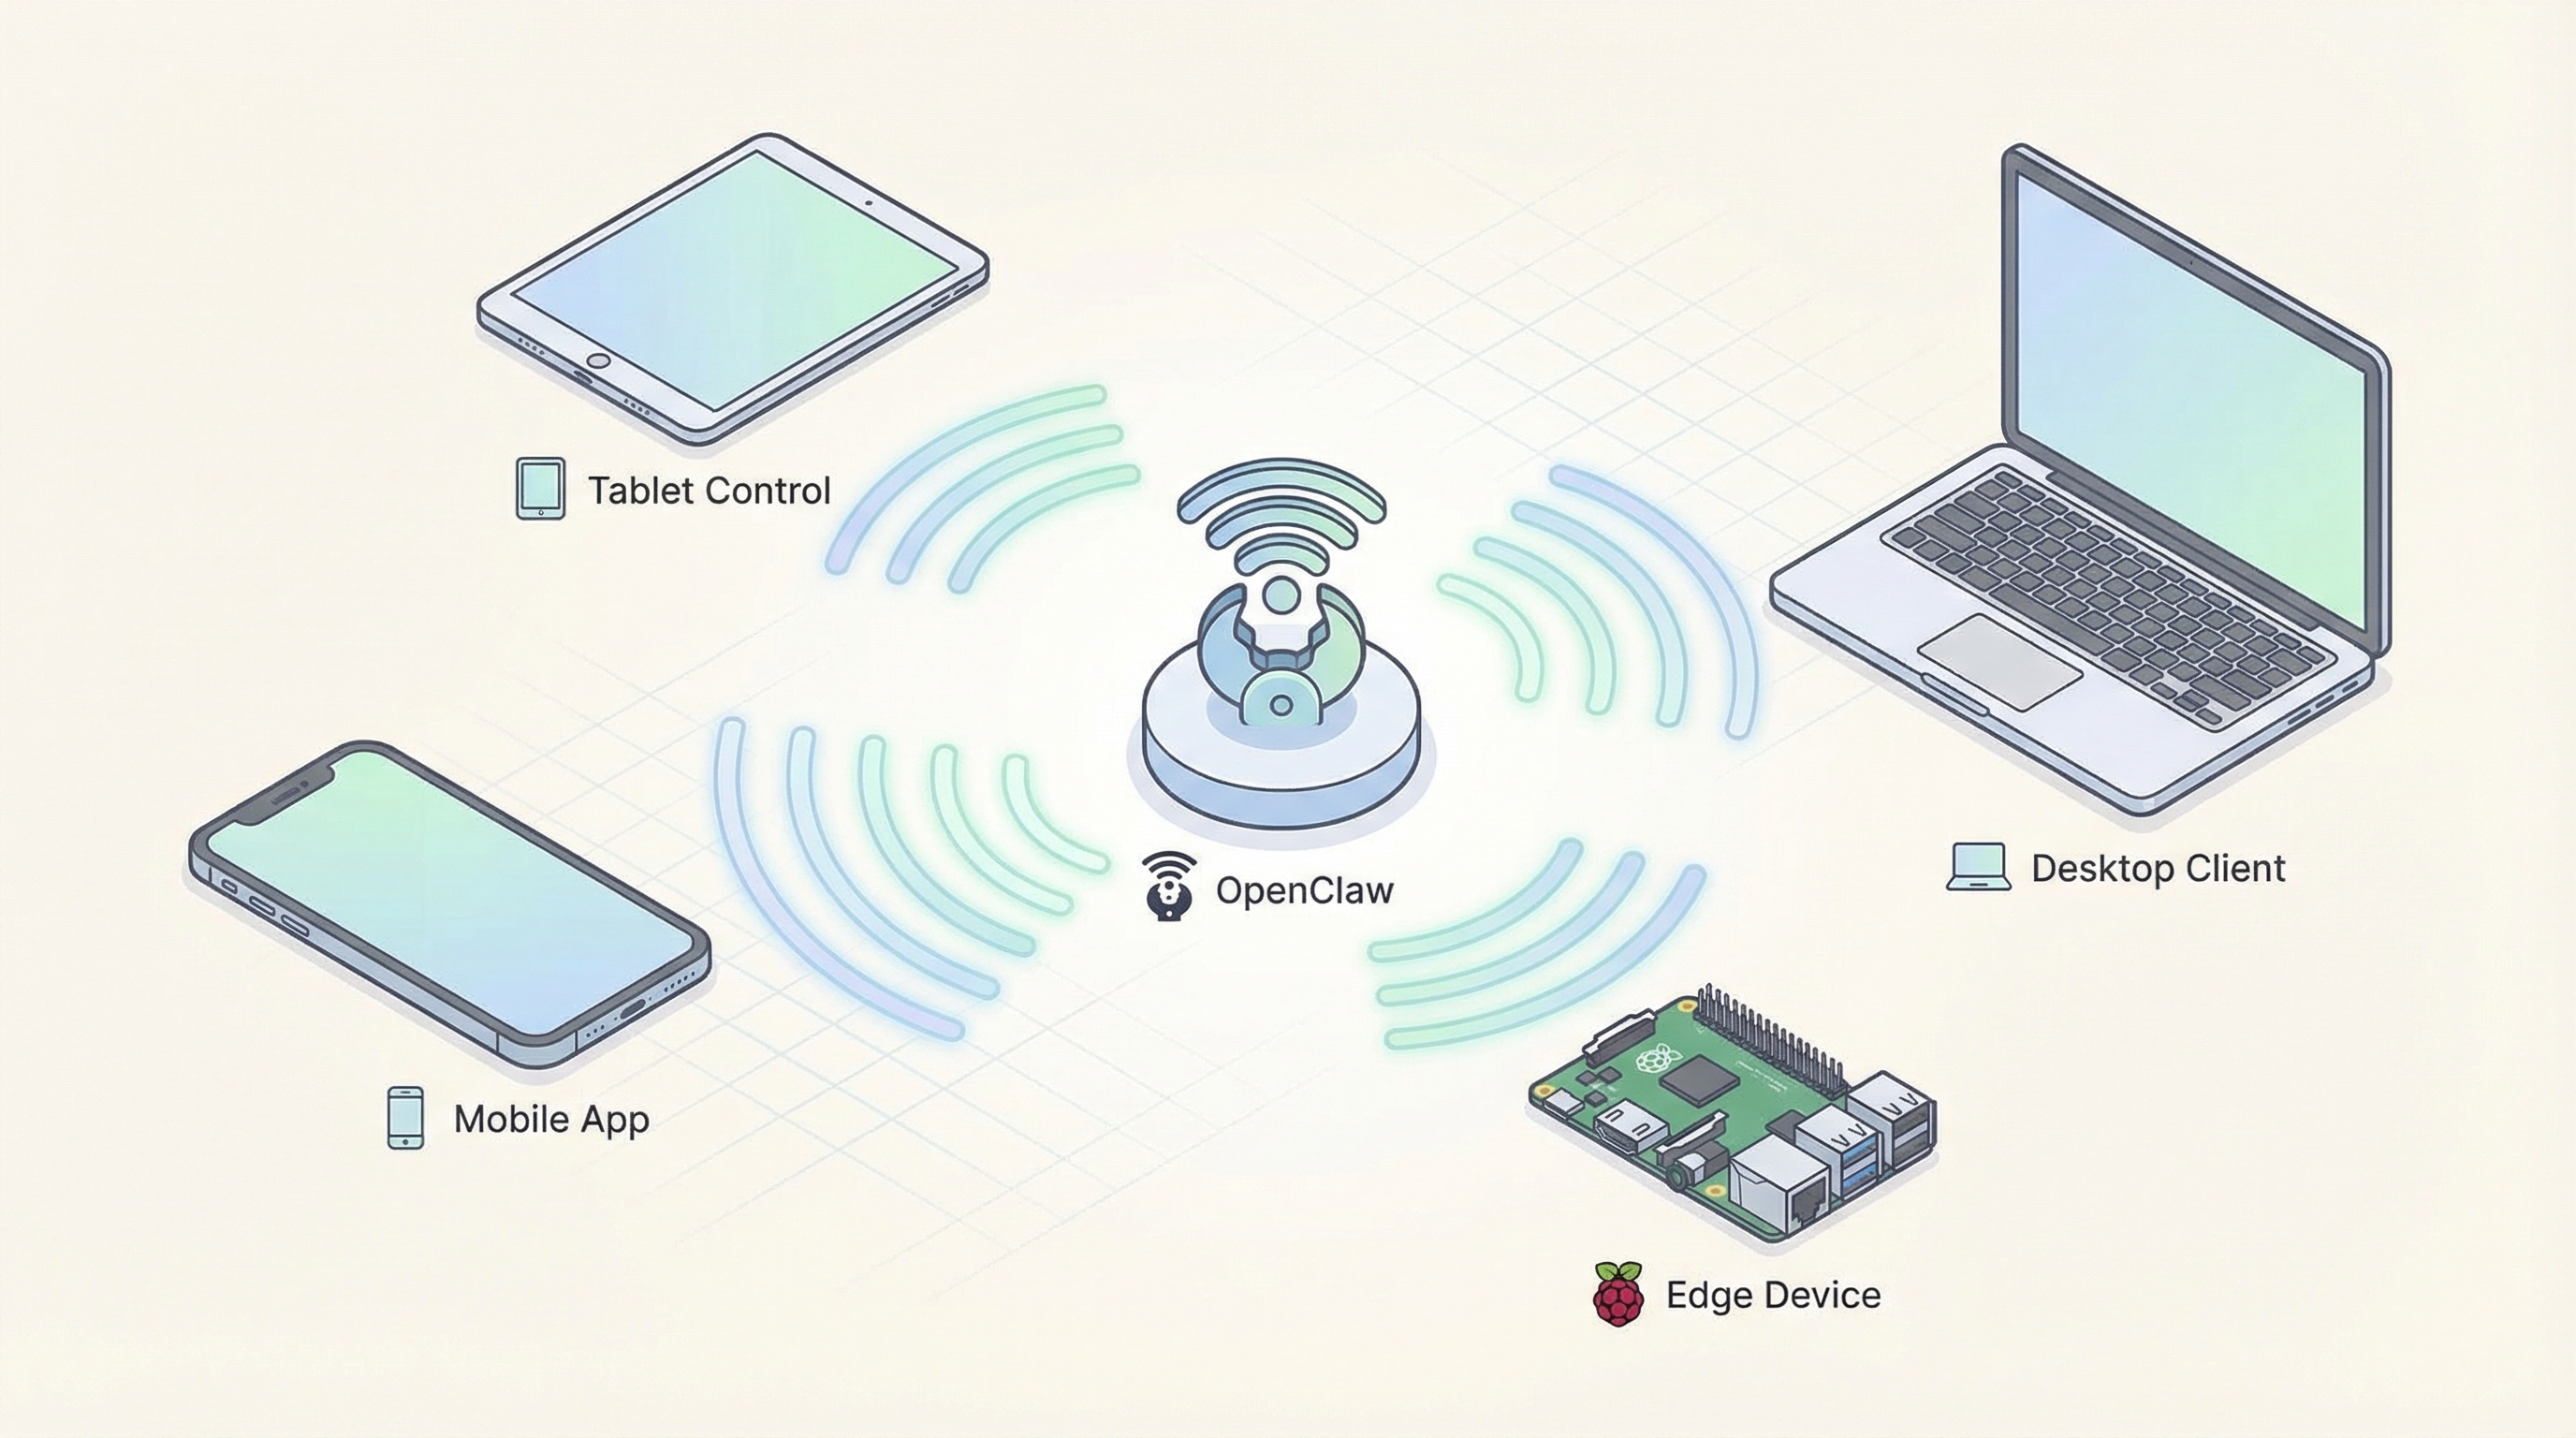
What is a Node? OpenClaw's "Remote Executor"
In simple terms:
- OpenClaw = The primary AI controller (running on your main computer)
- Node = OpenClaw's remote executor (running on other devices)
You just talk to OpenClaw, and it automatically calls upon the appropriate Node to complete the task.
Key Concepts:
- A Node is not a standalone product; it's an extension of OpenClaw's capabilities.
- You do not need to learn how to use Nodes separately.
- You just need to pair the Node, and then you can continue conversing with OpenClaw as usual.
What kind of devices can be Nodes?
- 📱 Phones/Tablets (iOS/Android) - Take photos, get location, send push notifications
- 💻 Another computer (Mac/Windows/Linux) - Take screenshots, execute commands, transfer files
- 🥧 Raspberry Pi - Collect sensor data, control GPIO
- 📷 IoT Devices - Cameras, smart home gadgets, robots
Why Do You Need Nodes?
Scenario 1: Remote Monitoring - A Second Life for Your Old Phone
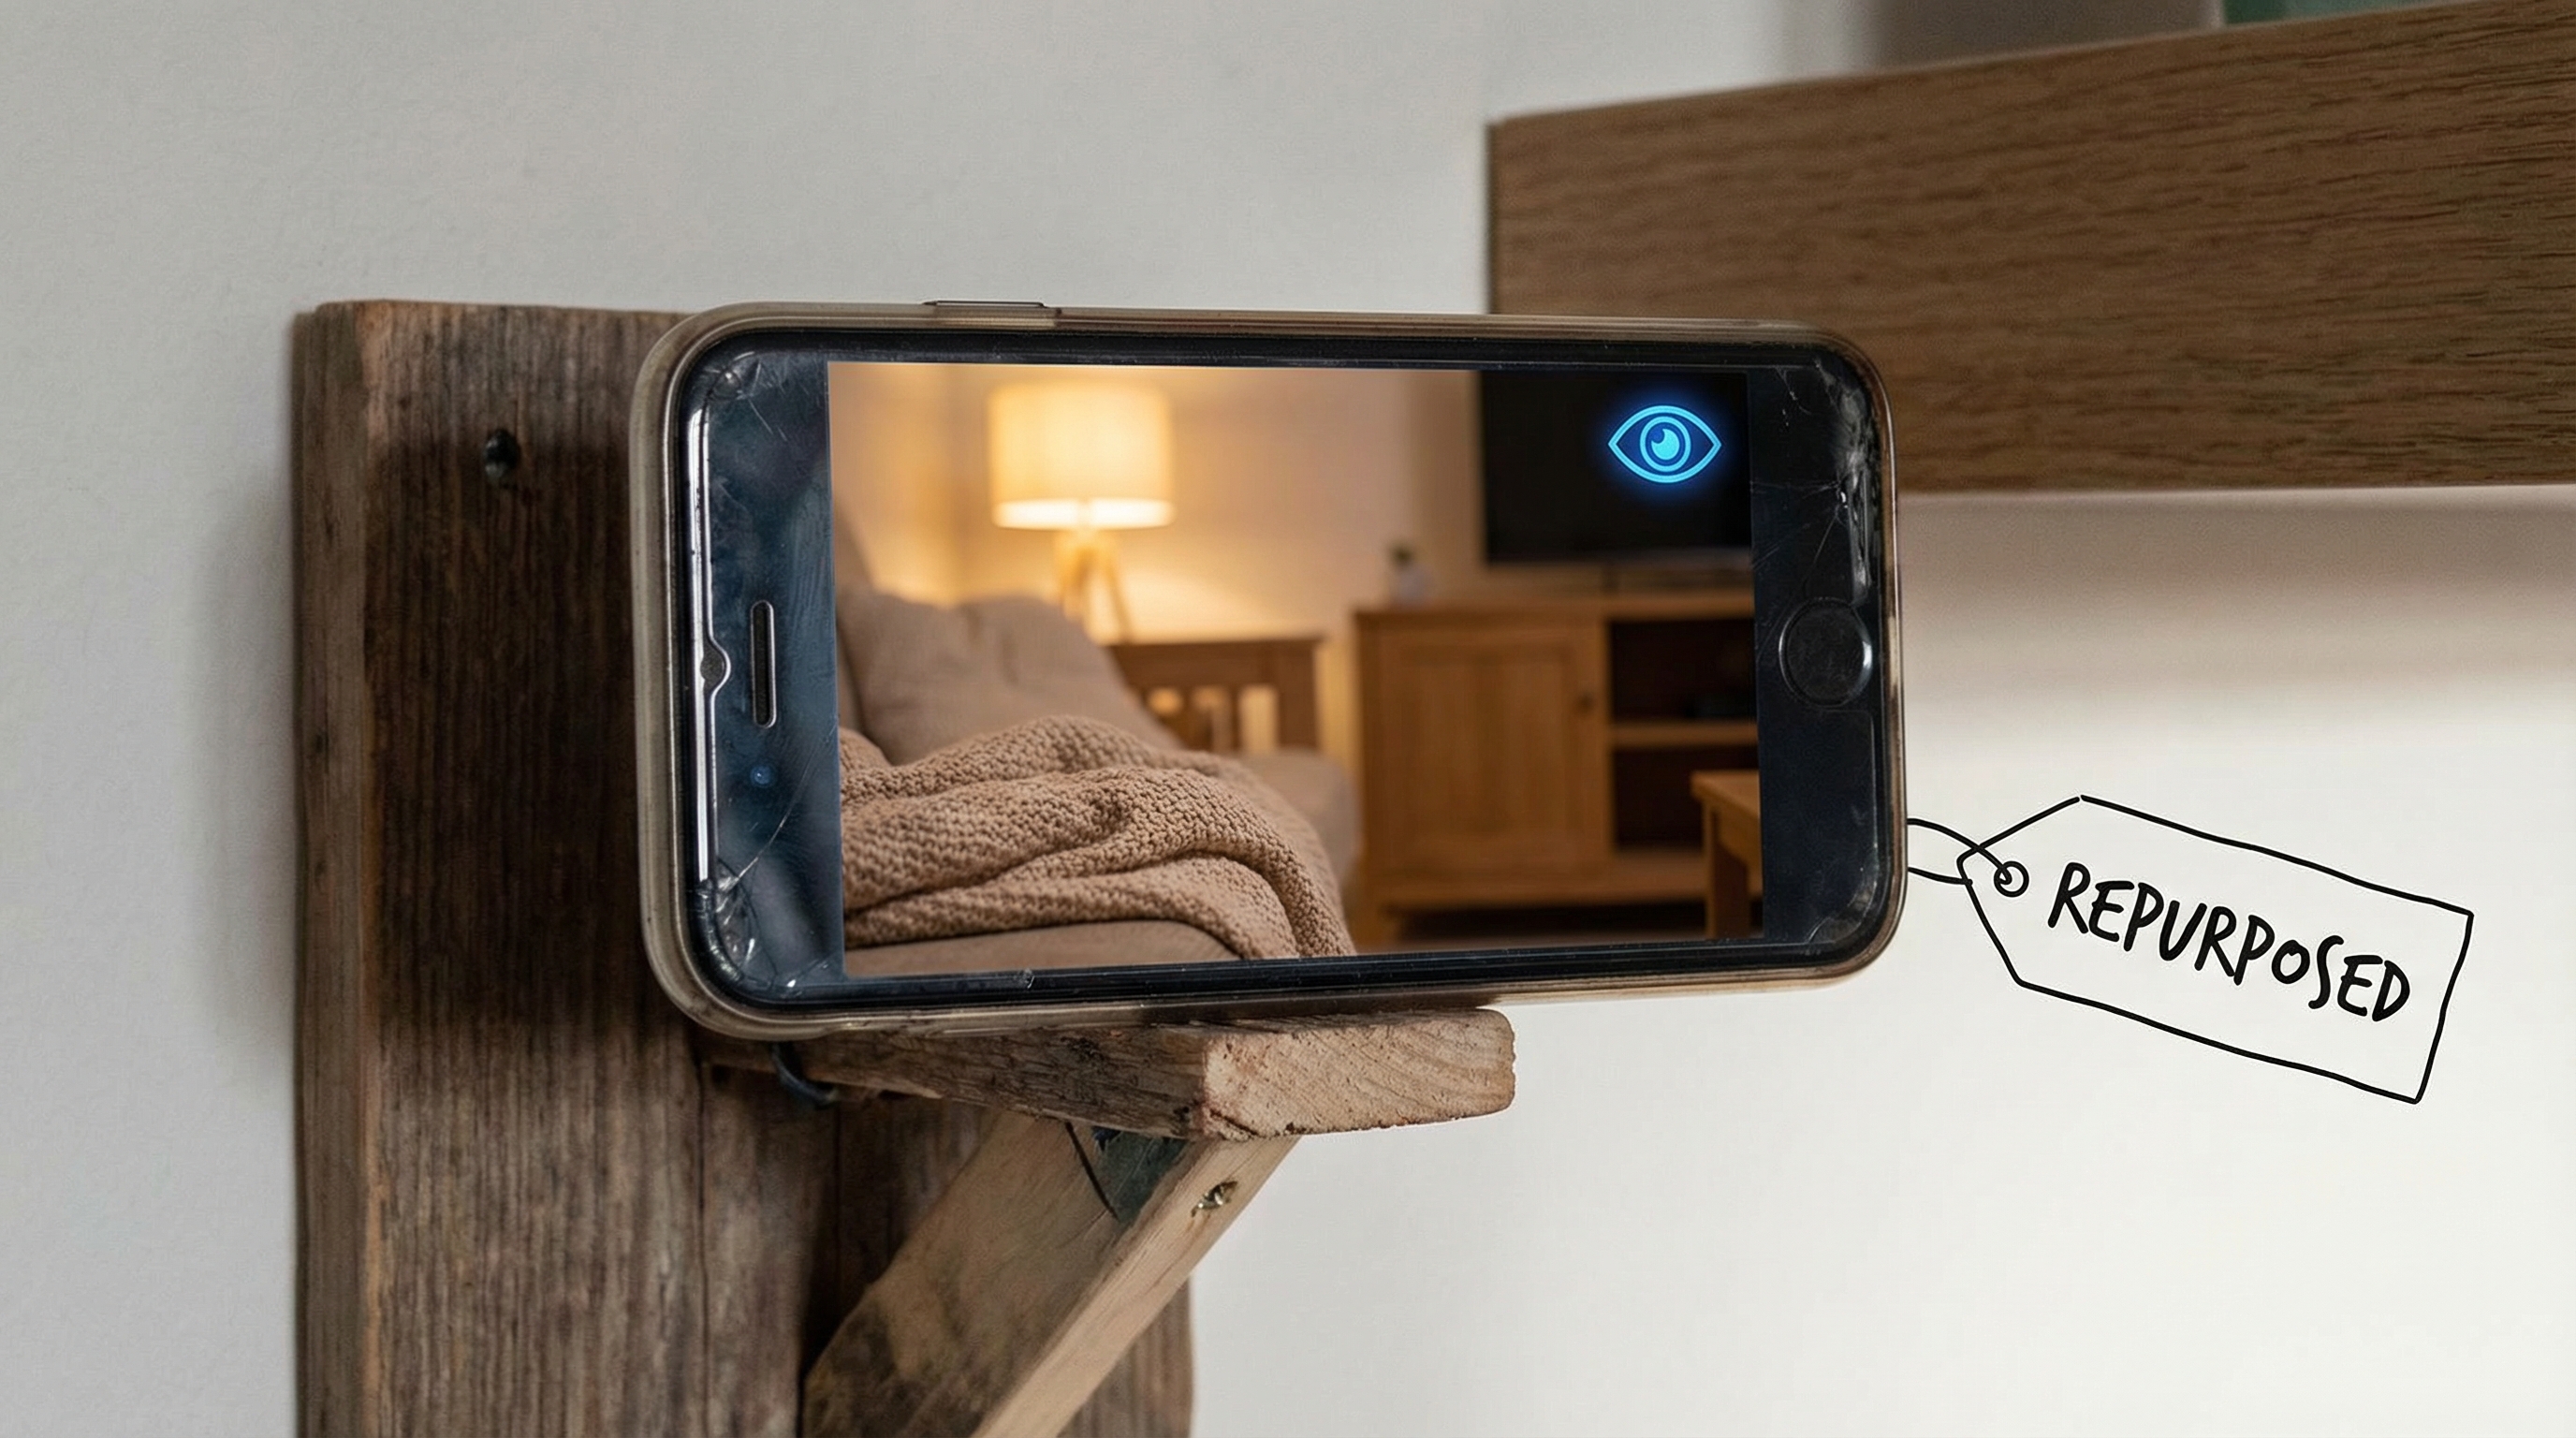
Pain Point: You have an old, unused iPhone at home. It's a waste to throw it away, but it's not worth much if you sell it.
Solution: Turn it into an AI-controlled camera!
💡 Value: One old phone = A smart security system, saving you the $80 you might spend on a new camera.
Scenario 2: Family Location - Care Without Intrusion
Pain Point: You want to know if your parents have arrived home safely, but you don't want to disturb them with frequent calls.
Solution: Install the Node App on your parents' phones (it runs in the background without being intrusive).
💡 Value: Care for your family while respecting their privacy. No need to call, no need to send a text.
Scenario 3: Distributed Tasks - Raspberry Pi as a Sensor
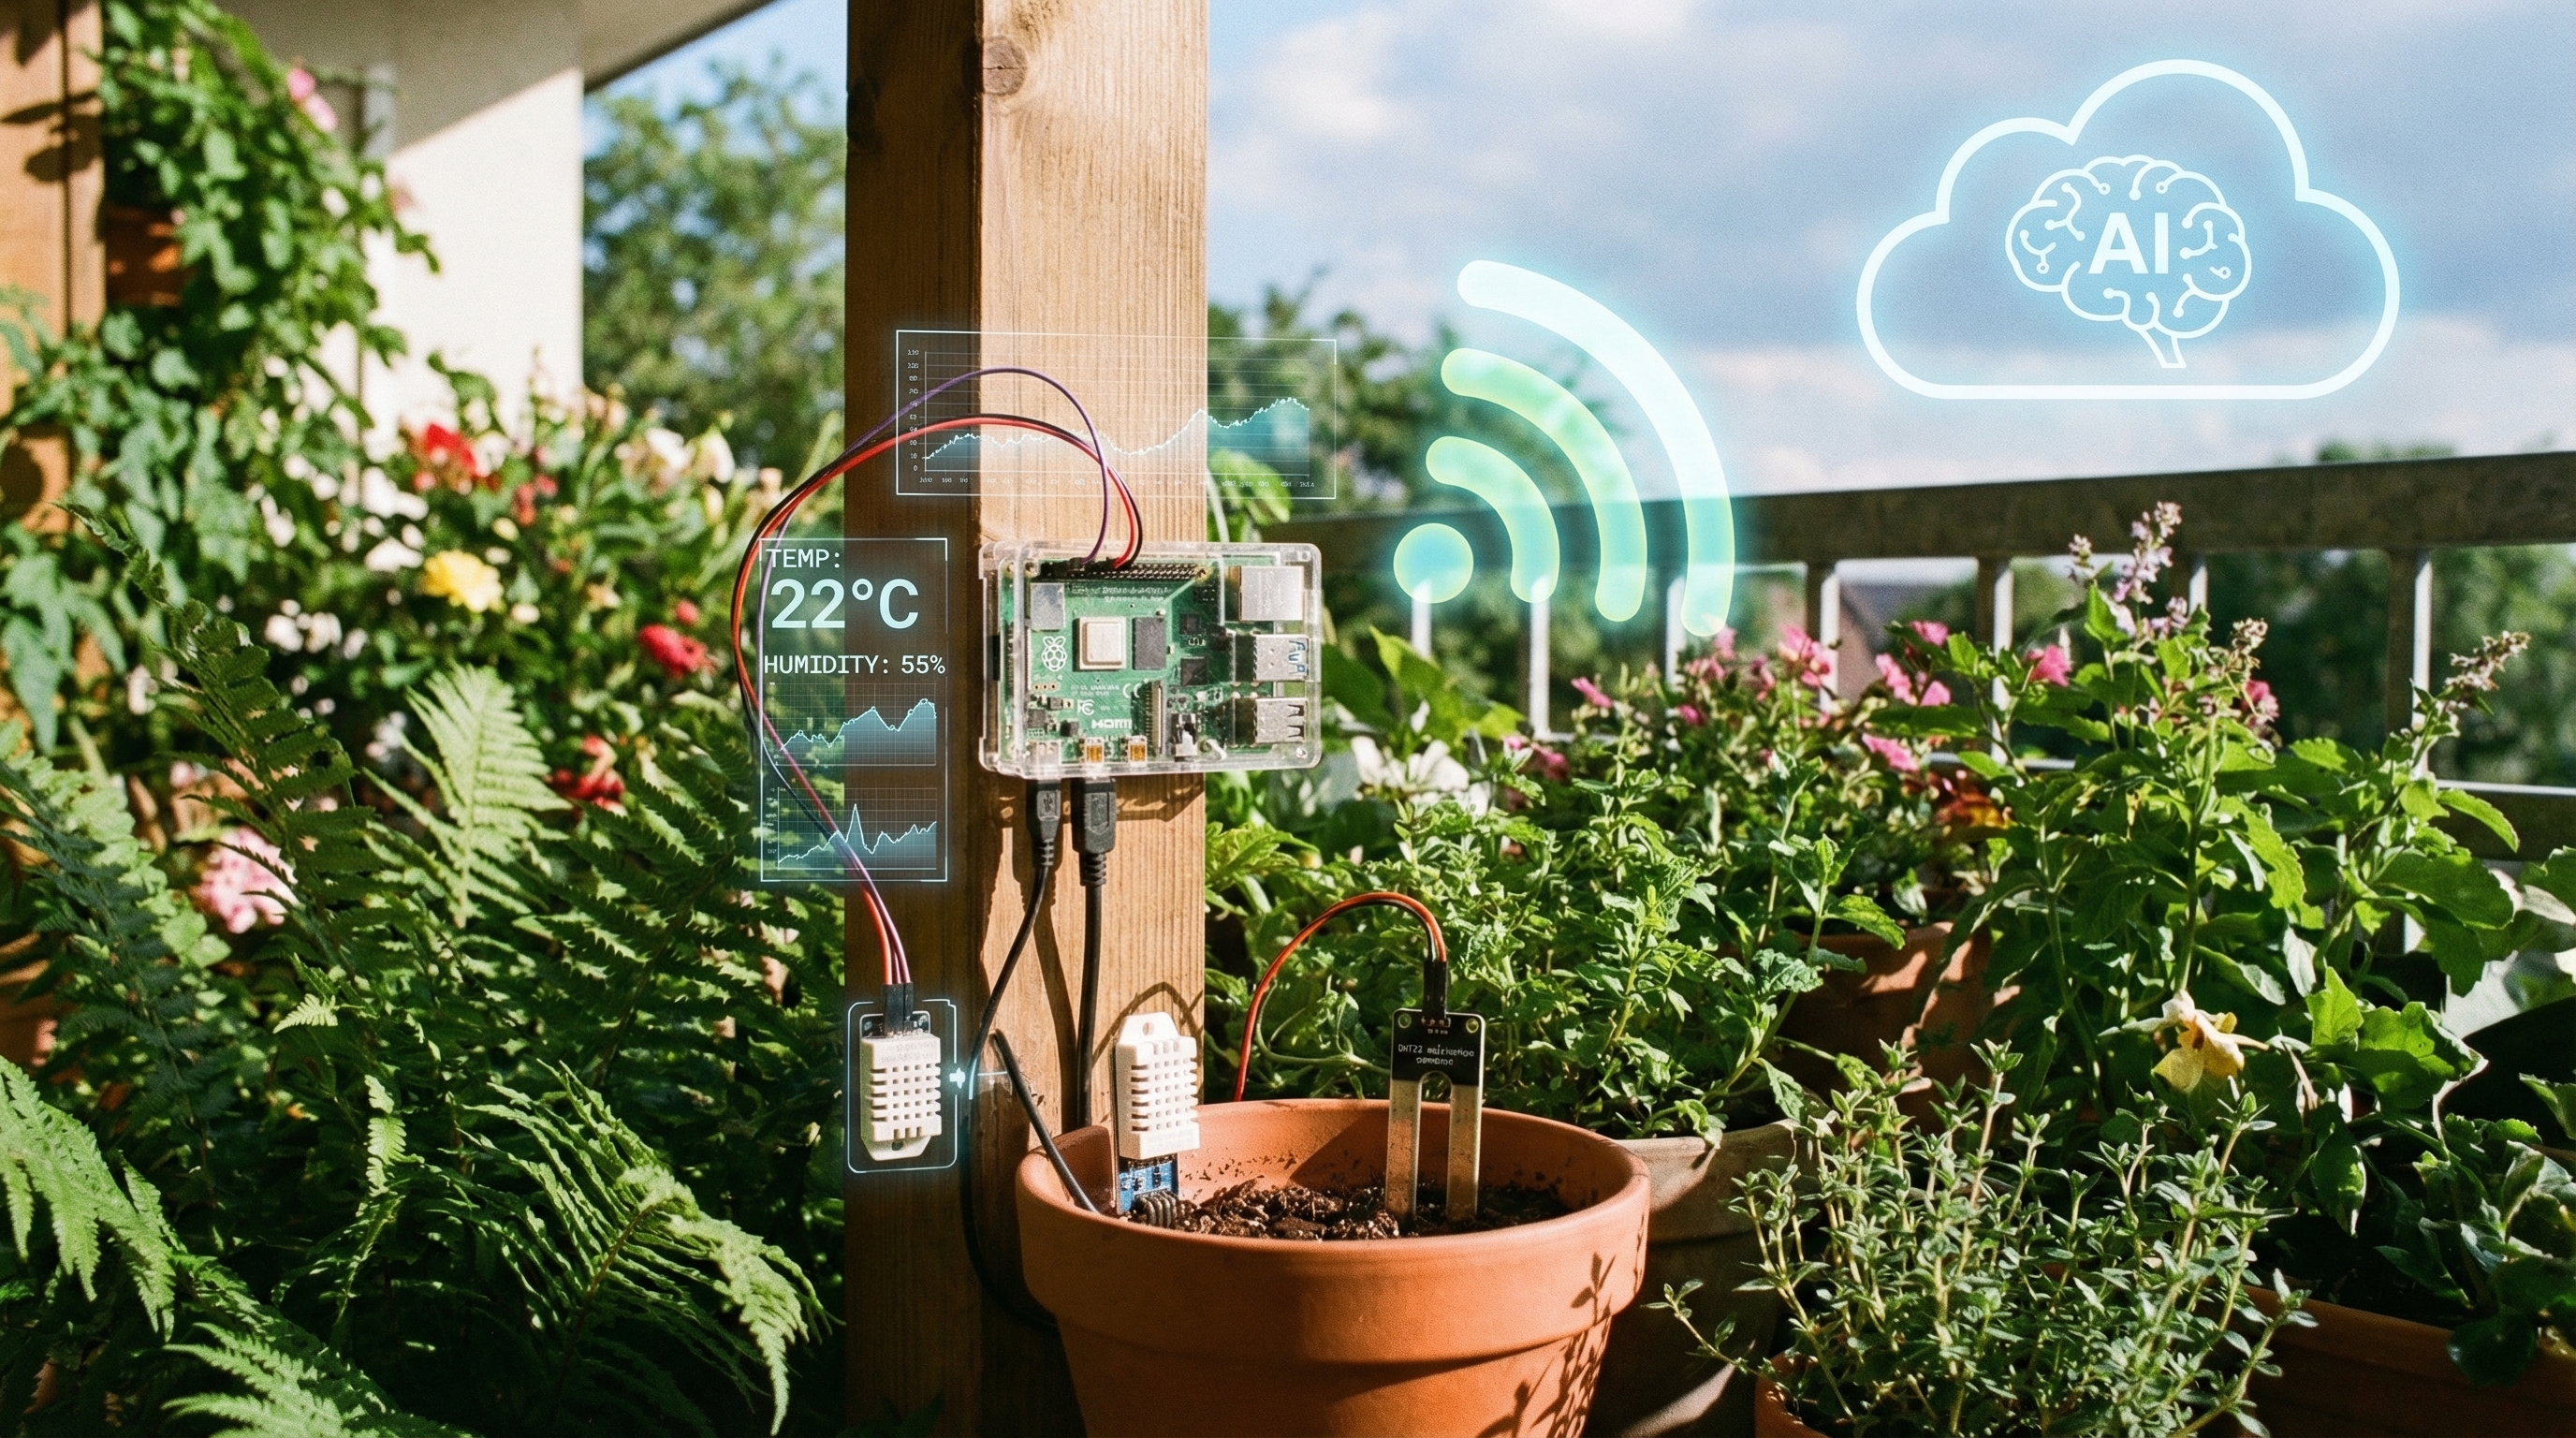
Pain Point: You want to monitor the growing environment for the plants on your balcony, but you can't place your computer there.
Solution: Raspberry Pi + Sensors + Node
💡 Value: Build a professional-grade environmental monitoring system at a low cost (a Raspberry Pi is about $50).
Scenario 4: Cross-Device Collaboration - Remote Control for Your Office PC
Pain Point: You're working from home and suddenly need a file that's on your office computer.
Solution: Set up your office computer as a Node.
💡 Value: No VPN, no remote desktop software. Accomplish cross-device operations through natural conversation.
Set Up Your First Node in 5 Minutes
Prerequisites
✅ Your primary OpenClaw is already running. ✅ A Node device (phone/tablet/computer). ✅ Both devices are on the same network (or use Tailscale).
Step 1: Install the Node Client
Phone/Tablet:
- iOS: Search for "OpenClaw Node" on the App Store (or via TestFlight beta).
- Android: Search for "OpenClaw Node" on Google Play.
Computer/Raspberry Pi:
# Install the Node client
npm install -g @openclaw/node

# Start the setup wizard
openclaw-node setup
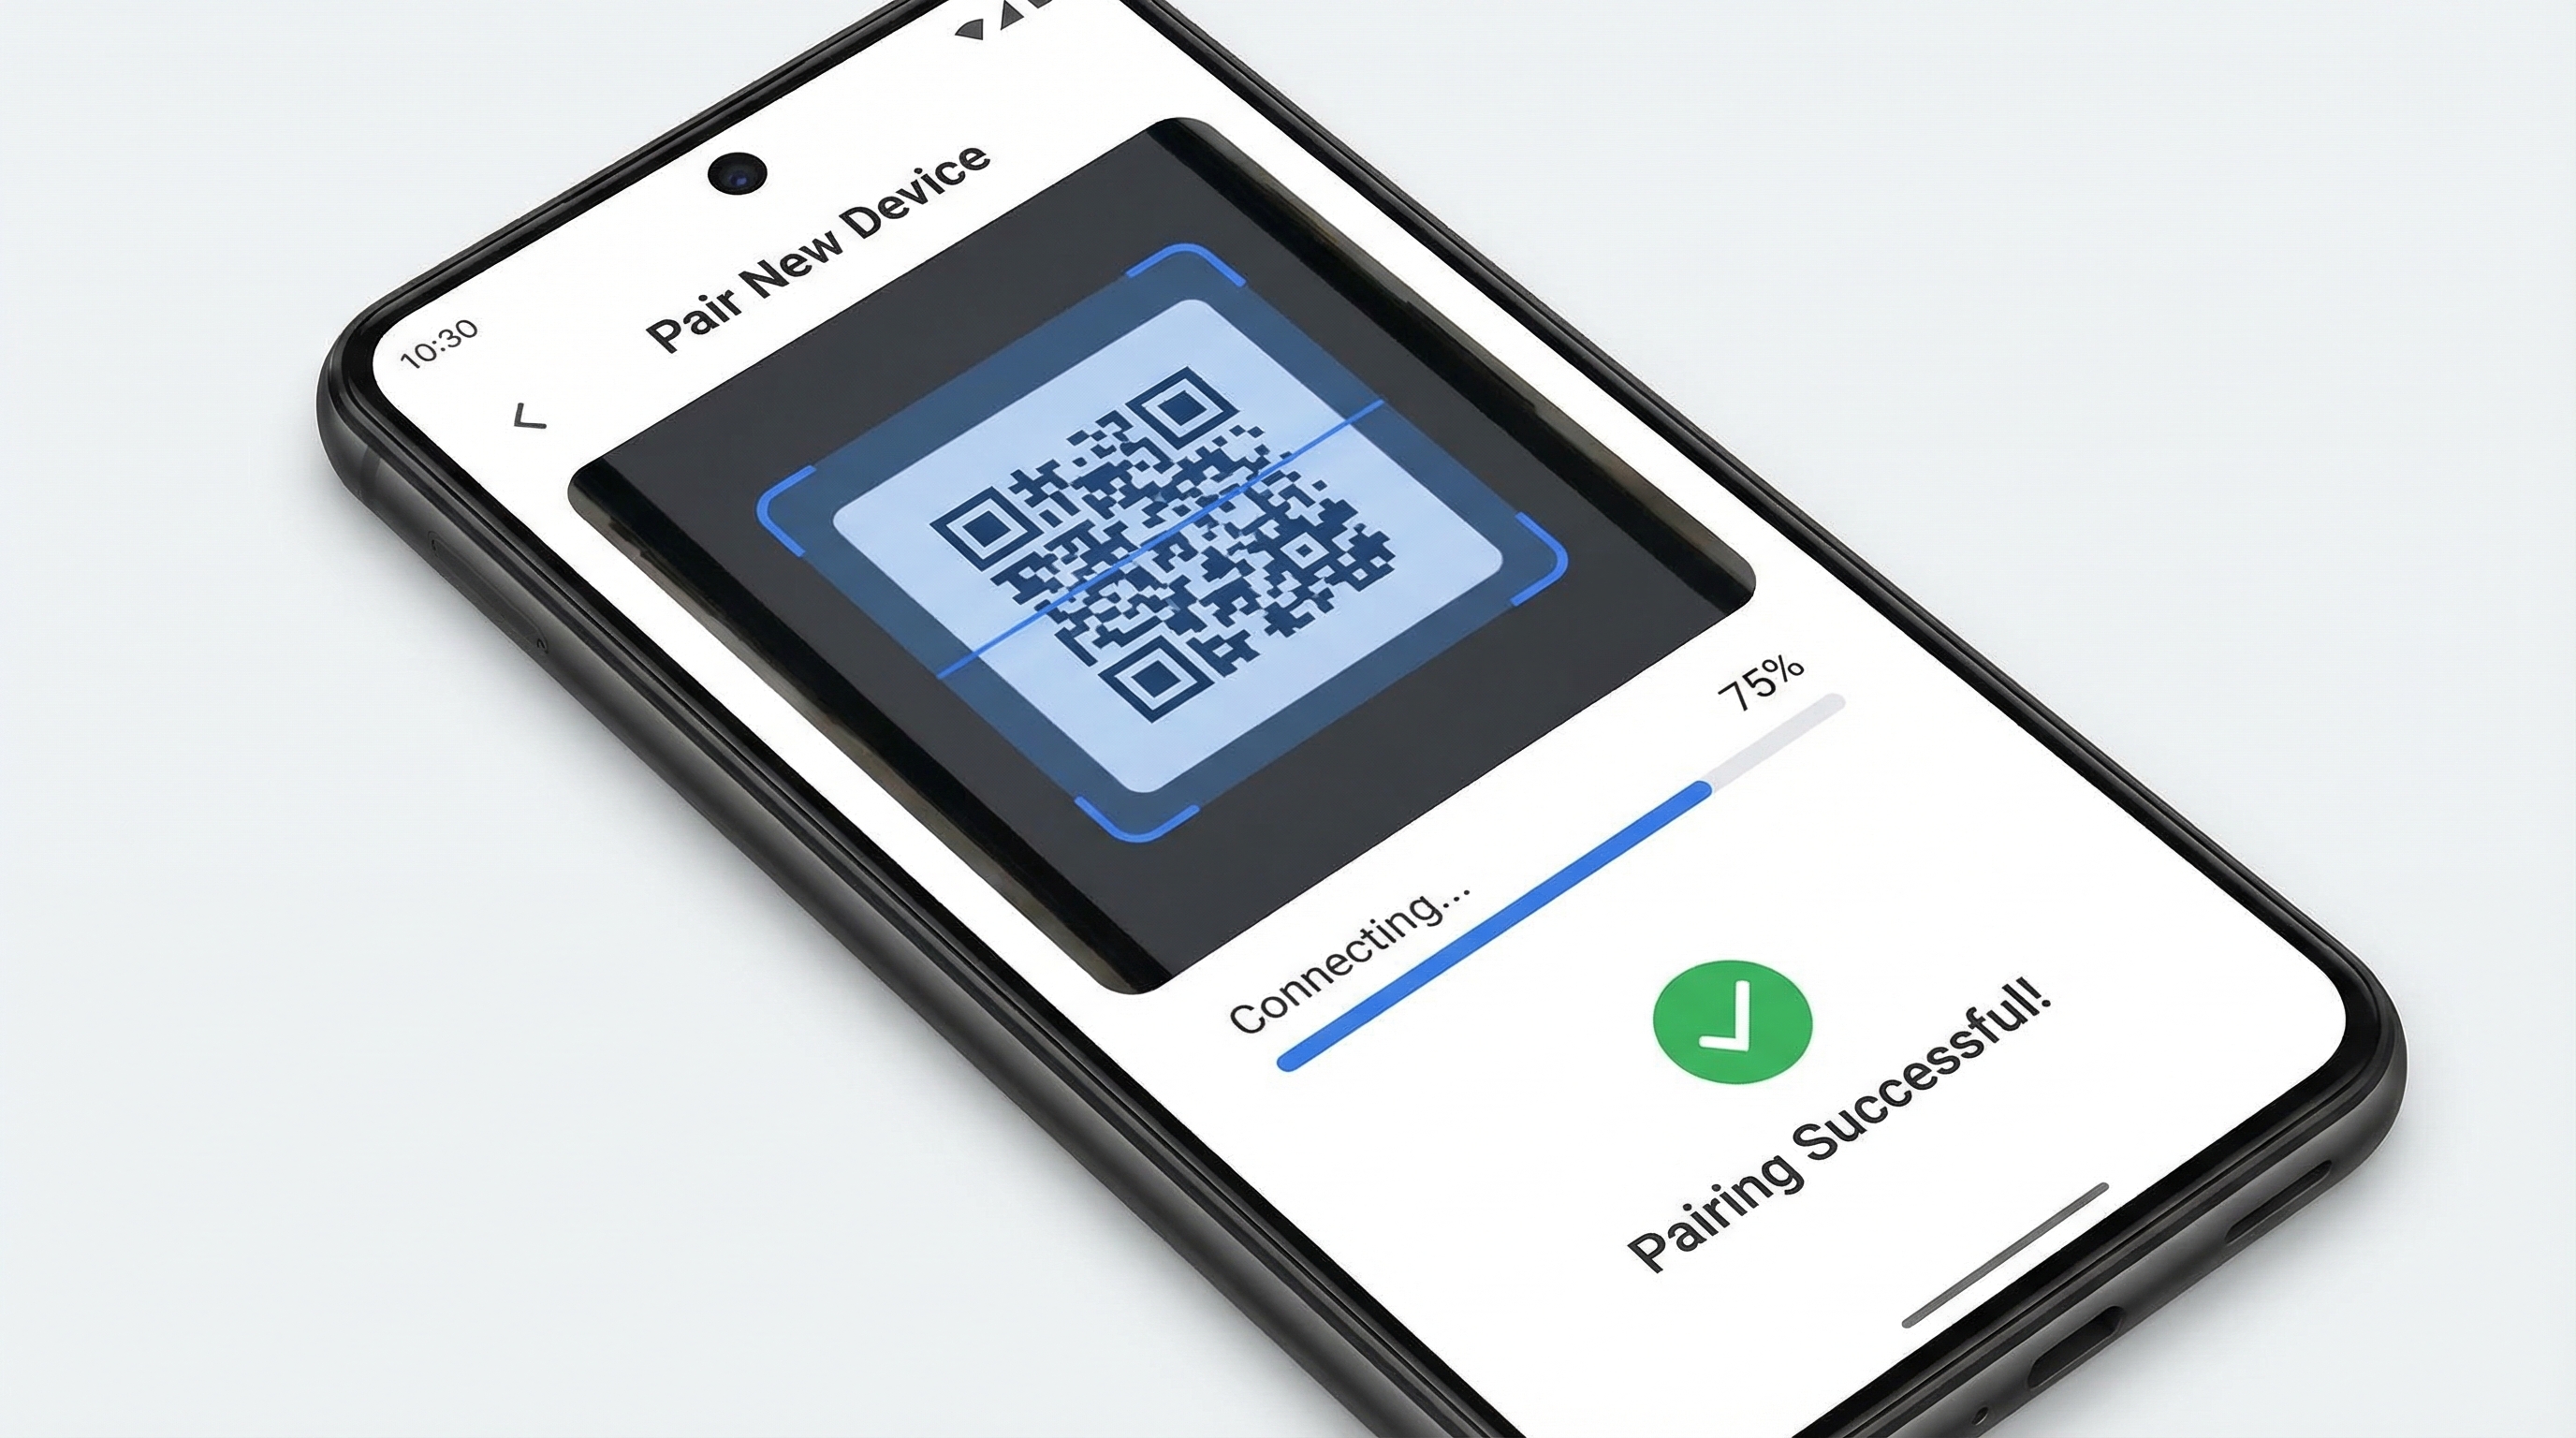
Step 2: Pair via QR Code (The Easiest Way)
Generate a pairing code on your primary OpenClaw, then scan the QR code on your Node device.
Step 3: Approve Permissions
On your primary OpenClaw, approve the permissions requested by the Node (e.g., camera, location, notifications).
Step 4: Test the Connection
Try taking a photo with your phone. Pairing successful!
Core Features Explained
Feature 1: Remote Camera - The AI's Eyes
You're not there, but you need to "see" what's happening:
- How are the pets at home doing?
- Where did I leave that file in the office?
- Do the plants on the balcony need water?
Feature 2: Location Tracking - The AI's Map
- Find a lost device.
- Keep track of a family member's location (without being intrusive).
- Log a device's movement history.
Feature 3: Push Notifications - The AI's Reminder
- Use a spare phone as a dedicated notification device.
- Send reminders to family members.
- Quickly send alerts in an emergency.
Feature 4: Remote Command Execution - The AI's Operator
- Run a script on a Raspberry Pi.
- Execute a system command on a computer.
- Check system information on a phone.
Feature 5: File Transfer - The AI's Courier
- Transfer files between devices.
- Back up photos from your phone.
- Sync work documents.
Practical Use Case
Use Case 1: A Zero-Cost Home Security System
Use an old Android phone + OpenClaw to build a smart security system.
Original Article: OpenClaw实战教程系列第11篇 - Node 节点:控制手机和其他设备
Author: SagaSu
Translated by: Clawdbot
Tags
Related Skills
Claude Skills - Professional AI Agent Skills Library
Open-source collection of 48 professional Claude skills with documentation, Python CLI tools, and templates for productivity automation.
DeepAgents
LangChain toolkit for building deeply capable AI agents and agentic workflows.
Browser Use Agent SDK
Open-source SDK for building browser automation agents with multi-LLM support
Related Guides
E-book Download Skill with Claude and Telegram
Tutorial on building a Claude skill to download e-books via Telegram bot integrated with Zlib, planned for NotebookLM integration.
Claude Code Plugin Pairing: ralph-loop with planning-with-files
Experience sharing on combining Claude Code's ralph-loop plugin with skills/planning-with-files for task completion and progress tracking.
PSB System: Plan-Setup-Build Framework for Claude Code Projects
Learn the PSB workflow system (Plan, Setup, Build) for organizing Claude Code projects efficiently, improving productivity by 10x through structured development methodology.